 Student email service
As one official form of communication between the students and the university, an official email address is distributed to all regular students. This email address can naturally be used as a communication method on campus and also for communication with students, faculty and graduate students off-campus. This page contains basic information, including information of setting necessary for using the student email service (DCMail, Digital Campus Mail).
INDEX
A short guide for DCMail is available here.
The student email service (DCMail) can be used by all students at the university. User registration and other procedures are not necessary for use.
You can log into Google Workspace to view Google Workspace Help provided by Google LLC. See here for more detailed help.
In DCMail, you can use three types of addresses. The mailbox is the same for all these addresses. Note that, the storage capacity for the mailbox, including MyDrive of Google Drive, is 25GB. (There is no issue with use even if the storage capacity exceeds 25GB. However, there are restrictions, such as data cannot be newly saved once the storage capacity exceeds 100GB.)
Take note of the following precautionary points regarding the student ID number email address.
In this section, we will explain the necessary initial settings and what should be done in the beginning to use DCMail, and the login method and other settings.
Confirm the password for initial login and necessary authentication information using Confirmation page of Tohokudai ID or using the Tohokudai ID notification letter.
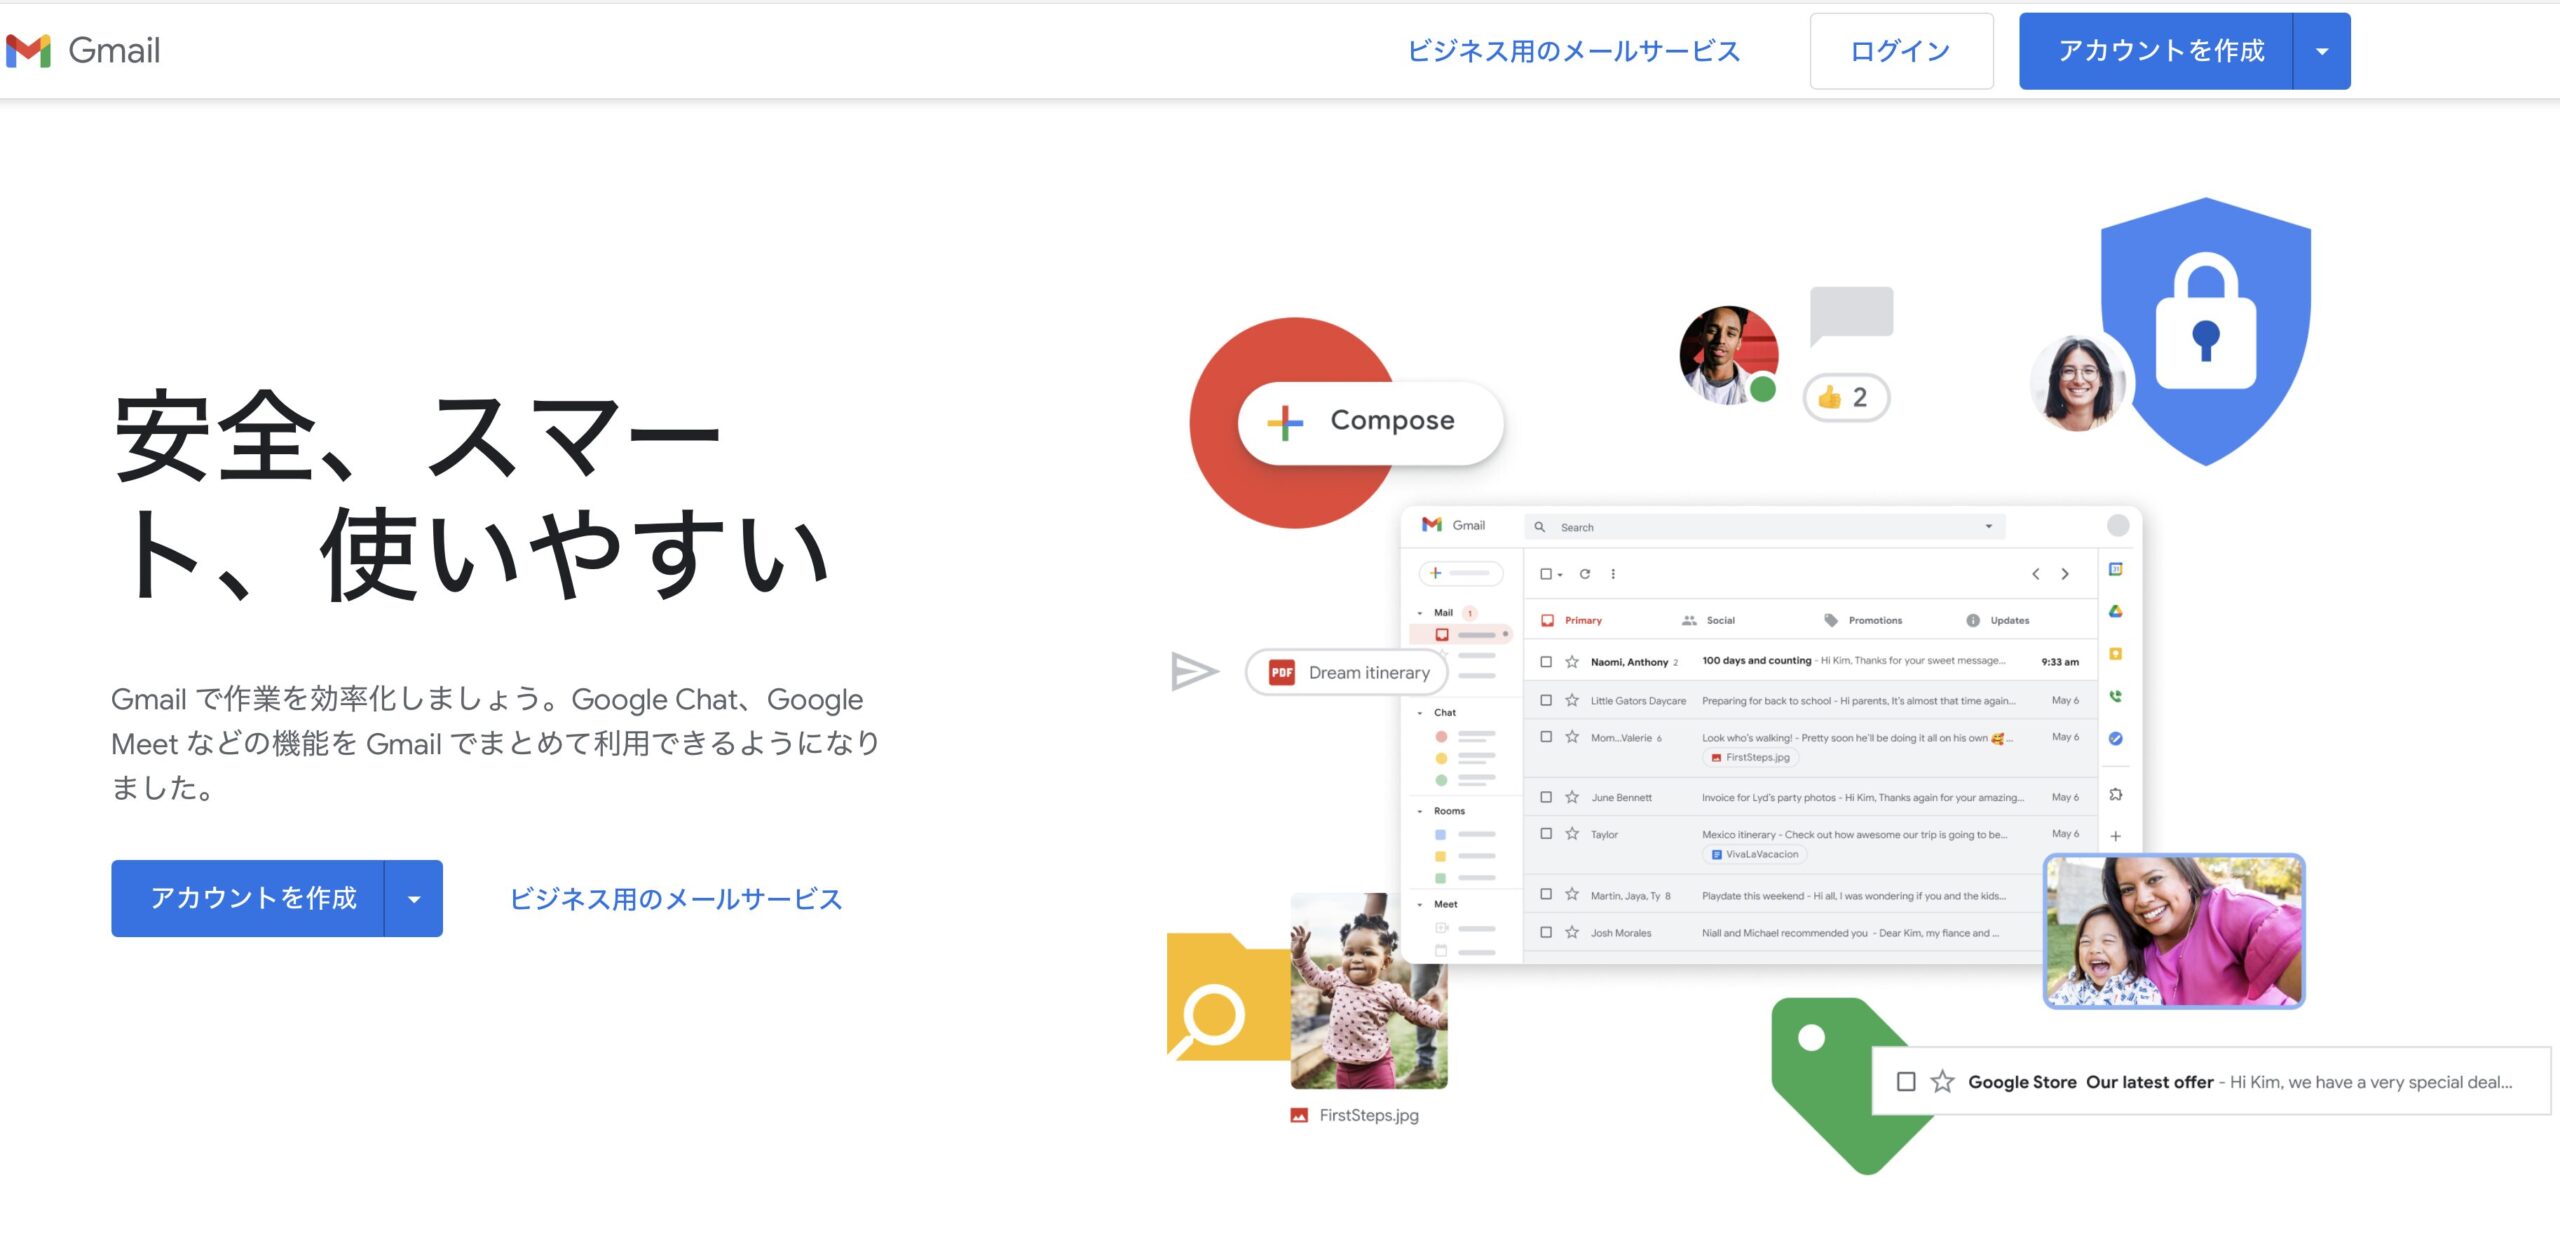
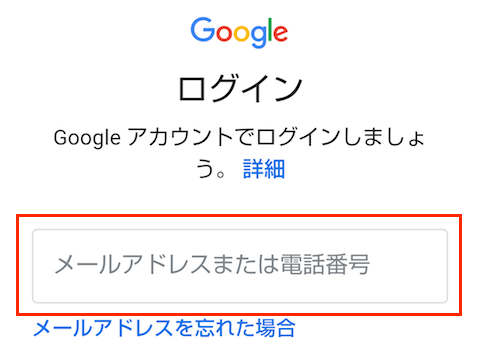
Access the Gmail website, click “log on” at the upper right.
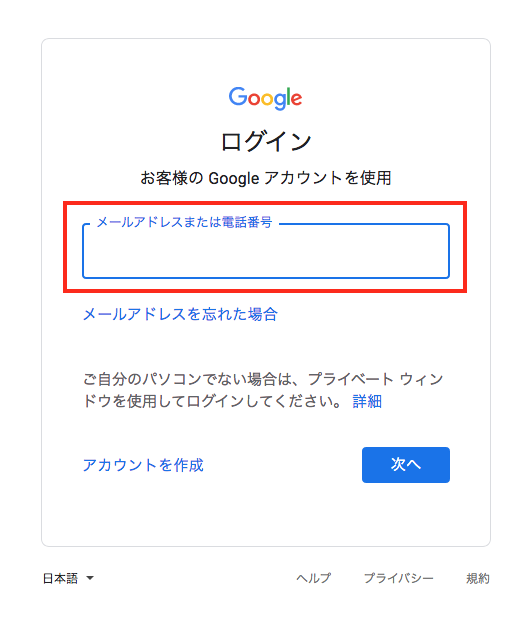
Input your university email address into the “email address or telephone number” field, click on “Next.”
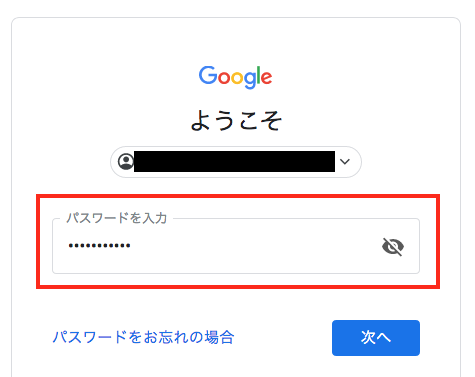
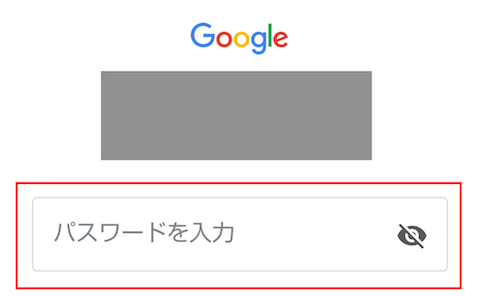
In the “input password” field, input your initial password confirmed in section 3.1, then click “Next.” (In the event you have already created your own unique confidential password, input that password.)
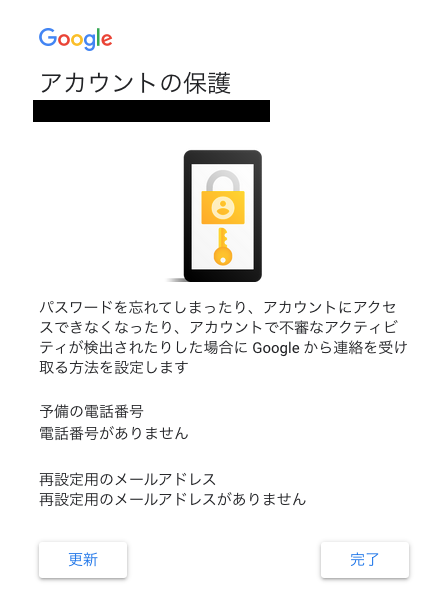
The “account protection” page, as shown in the figure below, will appear. This page is to register the communication method to receive a contact from Google for account recovery, mainly in cases where the user forgets their password or is locked out of their account for security reasons. Contact addresses can be input after logging in. Click “Complete” if you do not want to input contact addresses at this time.
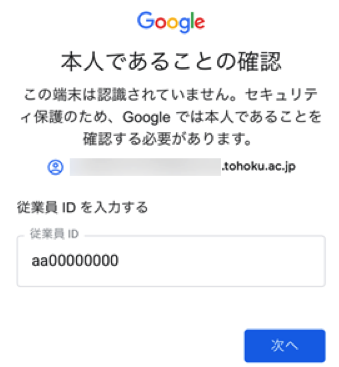
ID confirmation, as shown in the figure below, is required for security reasons. (This shows up primarily when an account is accessed from a device that is not regularly used.) In this case, input your Employee ID confirmed in Section 3.1.
When logging in for the first time (initial login), you are requested to create your own unique confidential password in the page shown in the figure below to replace the initial password. Create a password.
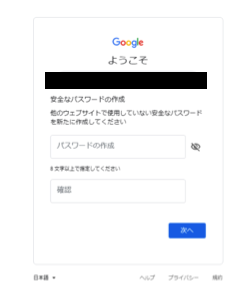
The password that you created here can be used as the login password when you use Google Workspace services, including DCMail. In light of this, carefully manage this password, do not forget it and do not tell anyone else your password.
Precautions regarding functions to automatically generate a password
In the event you create a password using a function to automatically generate a password for your browser, confirm the generated password and commit to memory. In the event you create a new password and close down, without checking your password, the password you created may become unknown, therefore you will be unable to log in to Google Workspace.
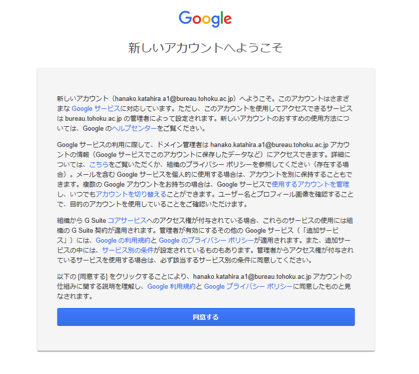
When logging in for the first time, the page in the figure below will appear. Read and click on “Agree.”
Click on “Next” once the page in the figure below appears.
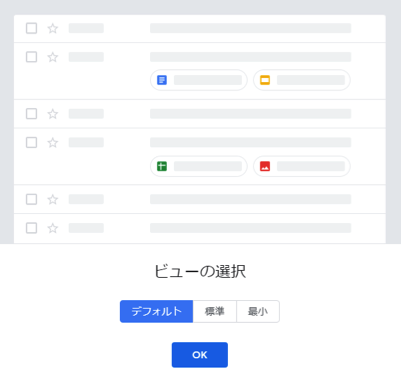
When the page in the figure below appears, select the setting of your choice, and click on “Next.”
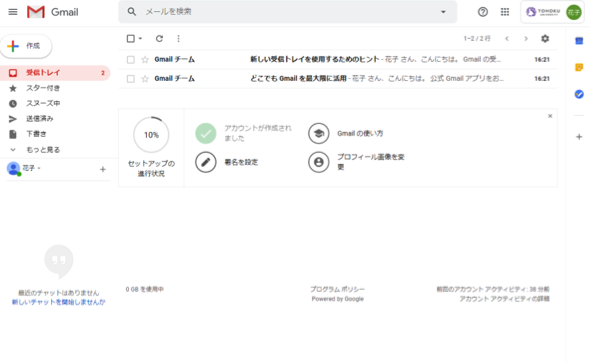
Once the Gmail page appears, login is complete.
For the Windows or macOS, we recommend the use of the Google Chrome browser. In the event you want to use the standard email app or other email apps, see Google Help.
This section explains how to use the Gmail app. In the case you want to use the standard email app that runs on iOS or iPadOS or other email apps, see Google Help.
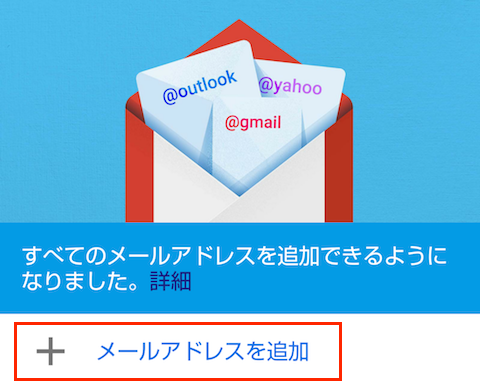
Launch the Gmail app. In the event the account has not be set up, tap on “Add email address” as shown in the page below.
If you are using your DCMail (Google Workspace) account on other Google apps (Google Chrome, etc.), the page below may appear, and your account will be displayed in the black portion. In this case, you can enable DC Mail for use by tapping on “Complete” at the upper left.
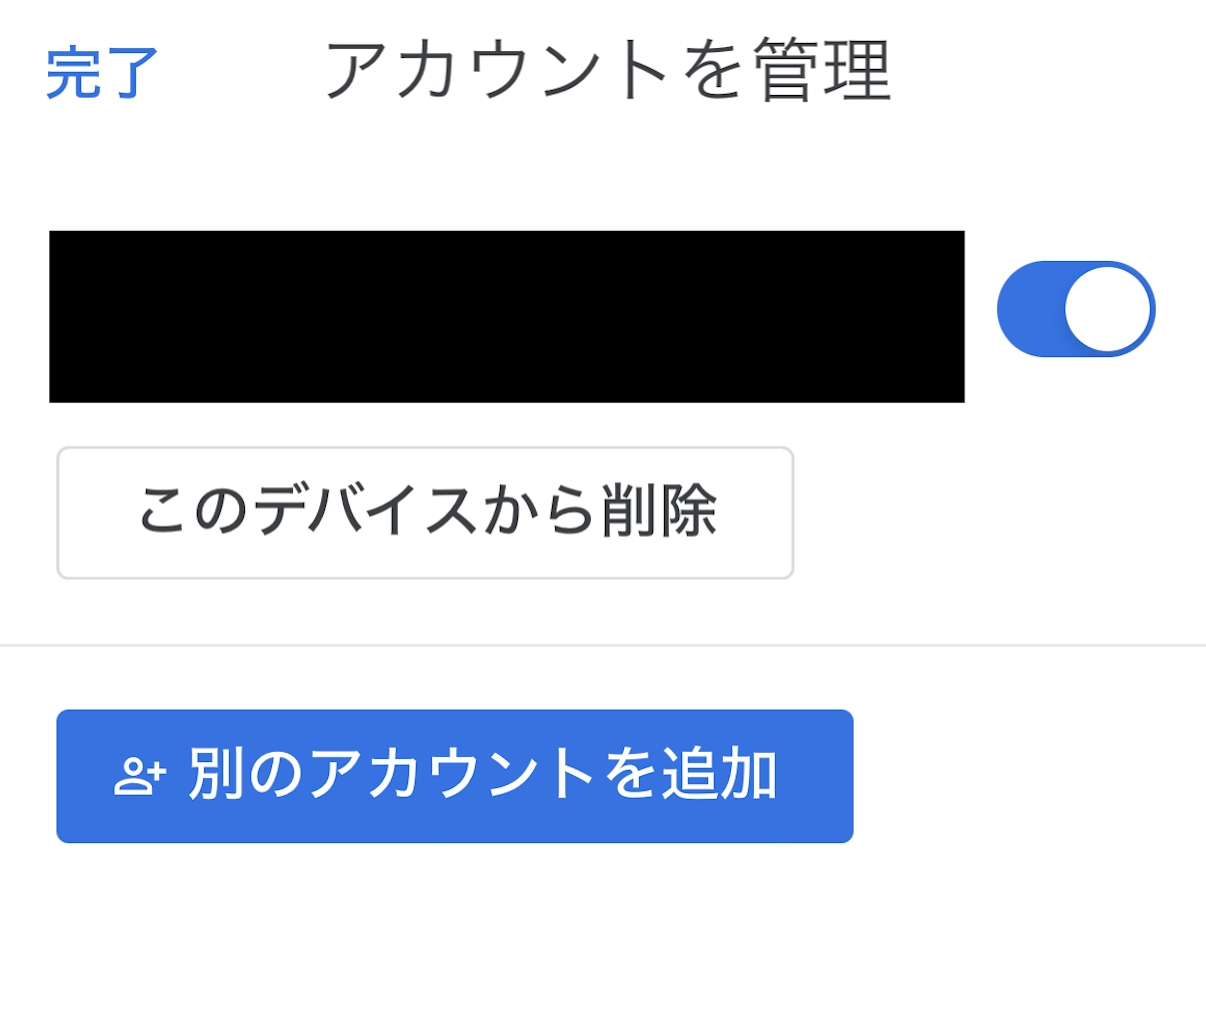
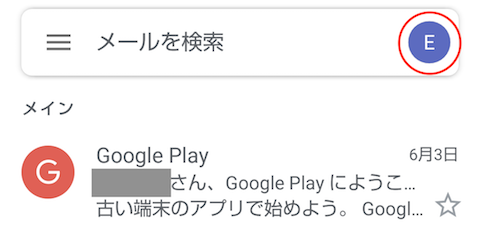
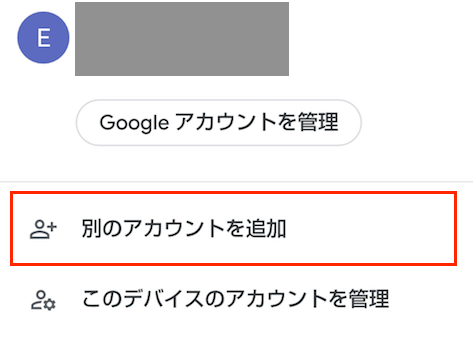
In the event you have already set up some account (other than the DCMail one), the page at the bottom will appear. Tap on the ‘initial’ portion at the upper right. In the page after that, tap “Add another account.”
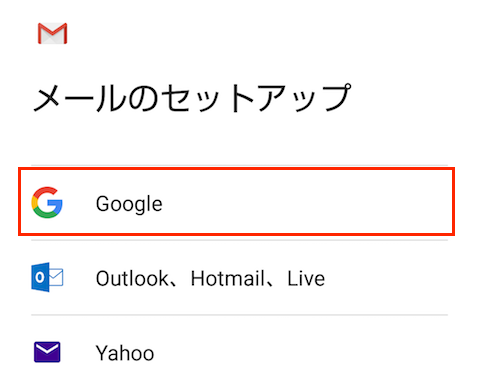
Tap “Google”
Input your university email address and tap “Next.”
Enter your Google Workspace password, and click “Next.”
Emails that arrive at your DCMail address can also read after forwarding them to another address that you normally use. Follow the following procedures. Also refer to Google help, etc.
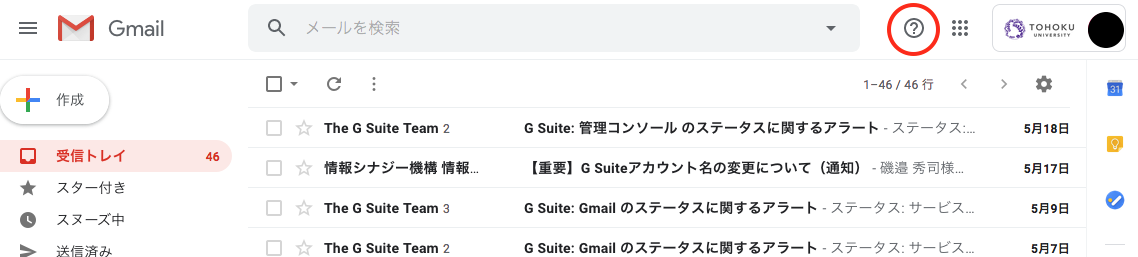
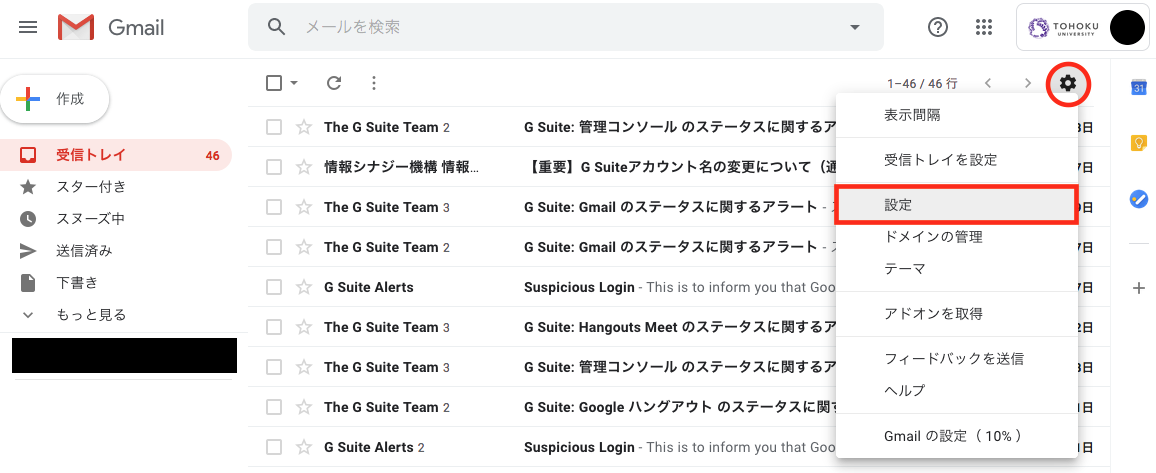
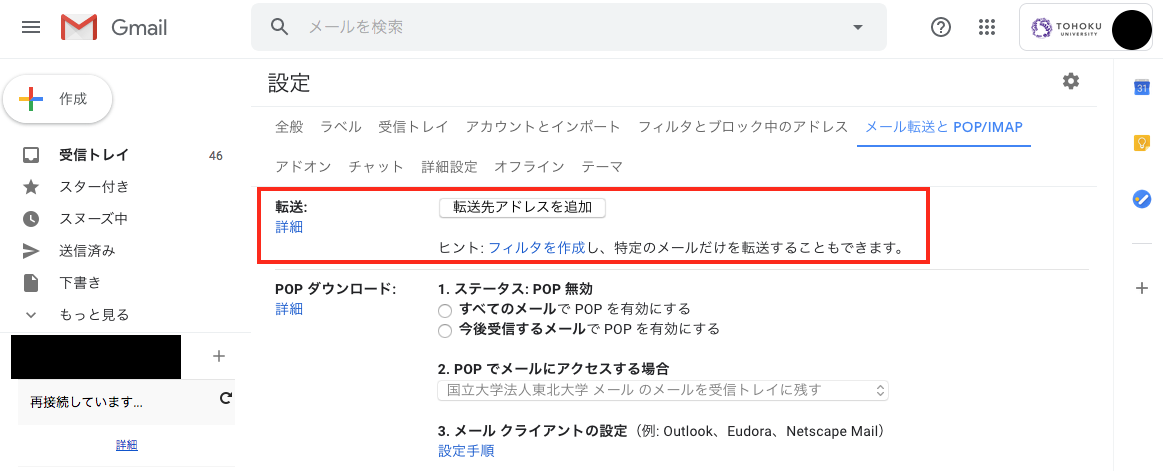
Log in to Google Workspace. Click the gear icon at the upper right of the page, and then click “Settings.”
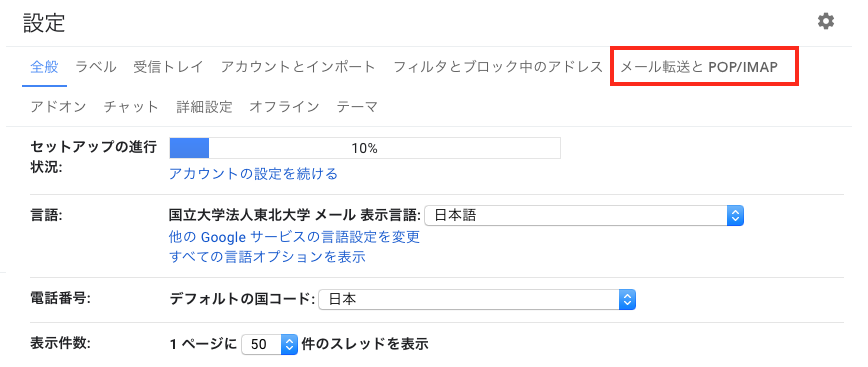
Click “Forwarding and POP/IMAP.”
Click “Add a forwarding address.”
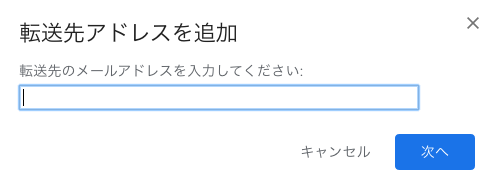
Specify an email address to which you want to forward emails (email address that is regularly used, etc.), and click “Next.”
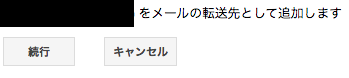
Check to make sure the email address is correct, and click “Proceed.” Then click “OK.”
Go back to Step 3, and enable the settings for forwarding emails: Enable the radio button to “Forward a copy of incoming mail to ○○…,” select options from the respective pull down menus for settings on how to handle the forwarding email address and the forwarded emails. Lastly, click “Save Changes” button.
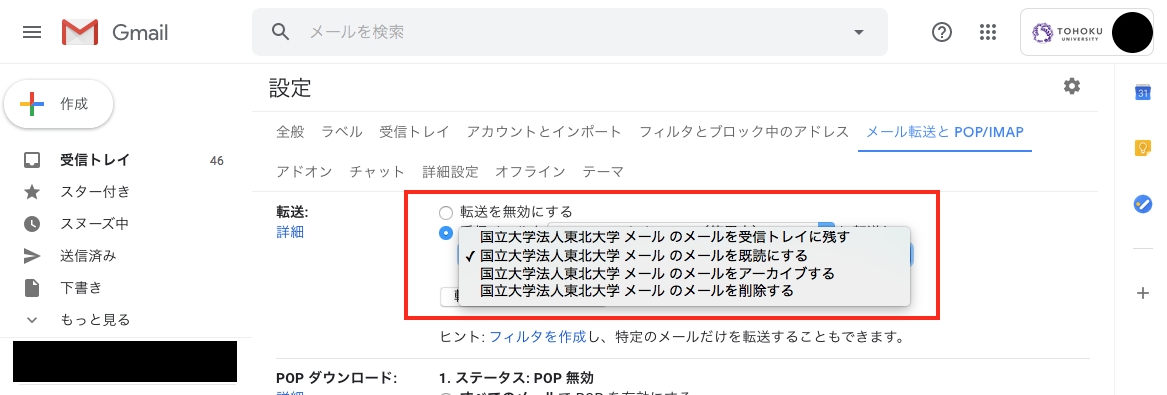
If you select “delete 〇〇 mail’s copy” from the pull-down menu, you will no longer be able to view the relevant email on Google Workspace. Unless there are special circumstances, we recommend you set the forwarded emails to keep in the inbox.
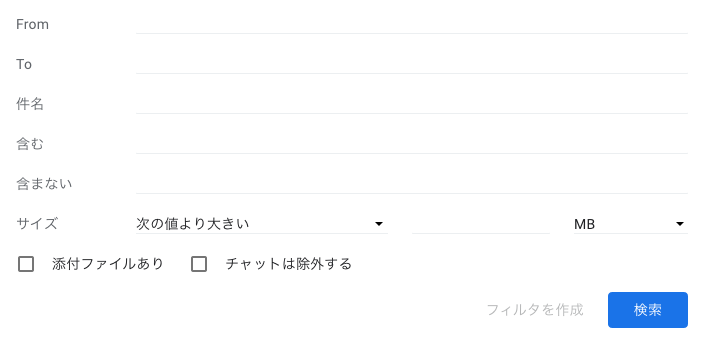
Note that if you click “creating a filter” in the page in Step 3, you can set conditions for forwarded emails, and forward only the emails that match the set conditions.
There are confirmed cases where an important email was erroneously judged to be spam/junk email. In particular, there have been cases where the Tohoku University SSO authentication email was erroneously classified as spam/junk email. Even if your set your emails to be forwarded, periodically log in to DCMail and check your emails.
In DCMail, in addition to the university email address and the student ID number address, an alias address can also be independently acquired individually. To acquire the alias address or to confirm your current alias address, follow the steps below.
Access the Integrated Electronic Authentication System. See here for the access method.
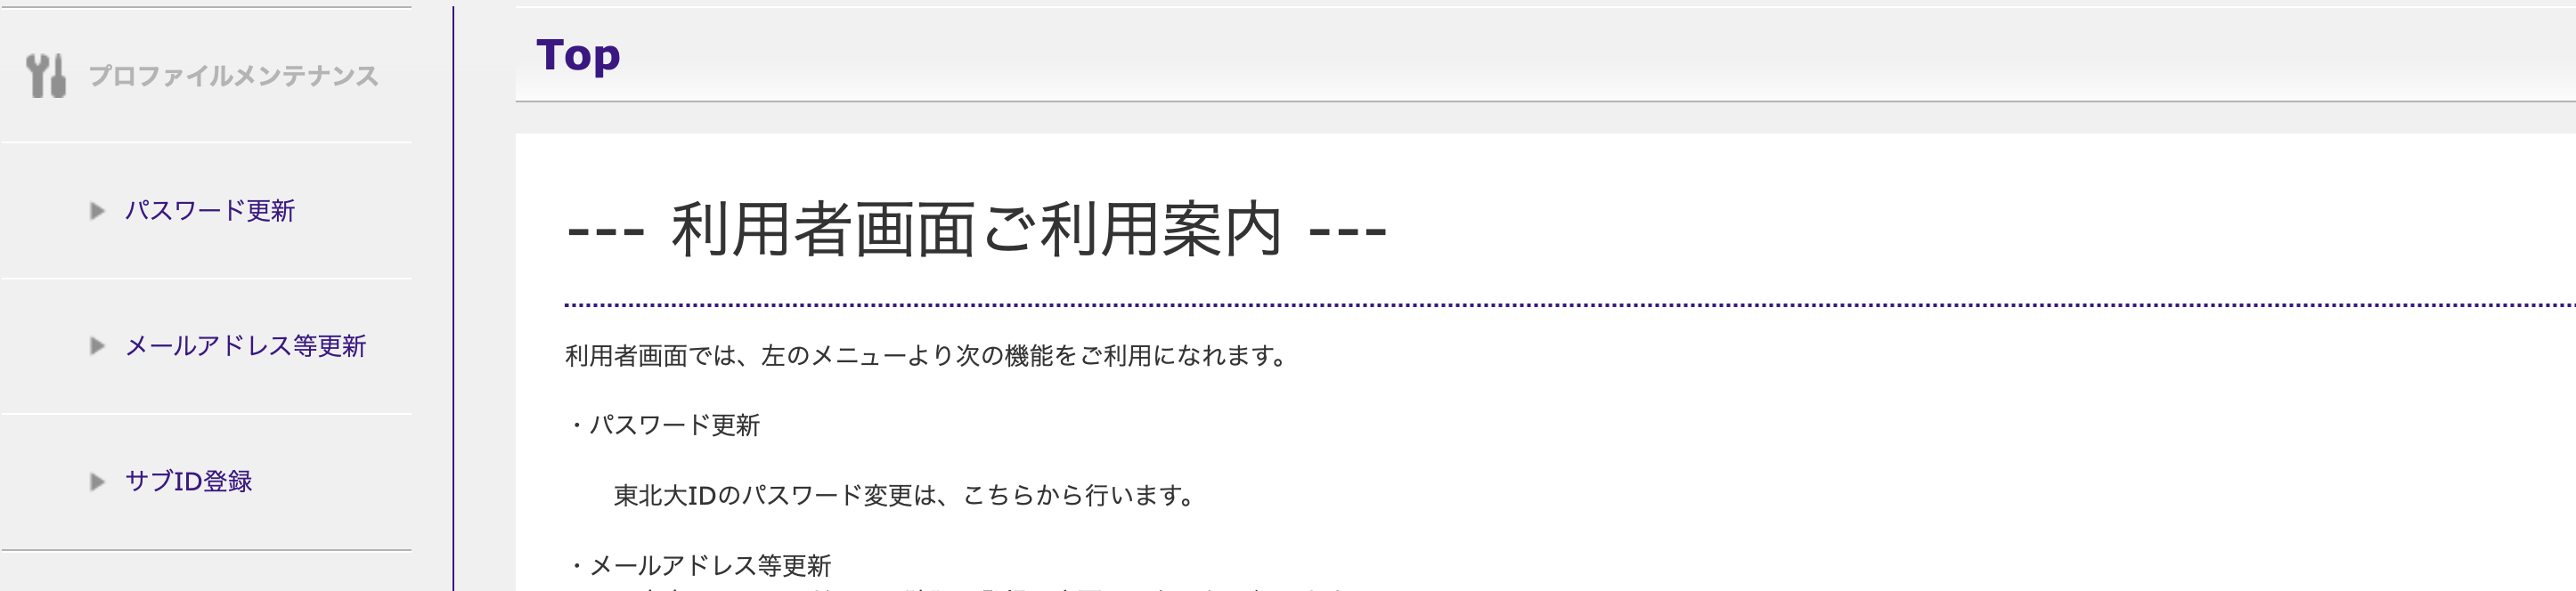
Click “Edit Profile” from the menu on the left side of the page.
An alias email address will be shown in the “Email alias address” field (the field will be blank in the event an alias email address is not created). Input the newly set-up alias address (portion before “@dc.tohoku.ac.jp”), and click “Save” at the bottom of the screen.

Emails that are sent unilaterally, both indiscriminately and in large volume, and regardless of the intention of the recipient, to an unspecified number of recipients are known as spam or junk email. They have become a social issue. It goes without saying that you should not send junk (spam) emails yourself. Take the following precautions should you receive junk (spam) mail.
In recent years, there is an increasing trend concerning emails called targeted email attacks. This is not a simple spam/junk email. Normally, this is a clear intention in which the affiliated member of a specific organization or school is being targeted. This is a malicious attack. For example, an attacker impersonates a university professor or system administrator, and makes the recipient believe that this is an “important email from the university.” It directs the recipient to a malicious website, and steals important confidential information, including account information and personal information. Even if the sender says they are a person connected to Tohoku University, and even if the address of the email’s sender (From header) looks as if it is an actual address, this is not always evidence enough to trust the email. Understand that the header information in the email can possibly be camouflaged by the attacker.
Consult with Division for Information Technology, Center for Data-driven Science and Artificial Intelligence when you believe something is suspicious with an email or whenever you question your judgement.
Inquiries about DCMail should be sent to the following contacts.